
God Save The King!
And his kingdom!
The coolest Mom. This week was my mom's birthday, so in memory of her I'll share this interesting tidbit: When we were little, our mom painted animals on the walls of one of the bedrooms, and on one there was a big lion. I don't remember what was on the other walls, but I remember the lion. When you walked in, he was right there. We also had a giraffe peg holder to hang things on. (I still have that.) I'd forgotten all about that wall until I started making these coloring pages. I suddenly marveled, "That's right... We had a big lion on our wall when we were little... Isn't that cool?" Our mom really was the coolest. Providence? I don't know - I've never particularly cared for lions, I'm happy with domestic cats; but I care about all animals and that we were put here to take care of them and, quite frankly, are really botching it. People really blow my mind. Now, I've got a lion on the wall of my heart... Yes, there are other bonus pages. ...somewhere... heeheehee ;p
|
 |
Other Craft Ideas
I've added "link to this section" links for those who want to share or bookmark a certain craft. Simply click on that link in the section you want, and then share or bookmark from there. The url in the address bar will have a # on the end with a section anchor that will take you to that section rather than the top of this page.
Lion Wall
Paint a lion, or other wildlife, on your child's bedroom walls! (Make sure they're friendly ones. ^,^ A lifelike one with blood dripping from its fangs might be cool to a teenager, but the little ones wouldn't get much sleep.) The lion Mom made had very simple lines (see picture above). Practice on paper first, if this isn't your thing, or see if you know someone who happens to like doing art. If your child is age appropriate, outline it for them then let them fill in the colors like a giant coloring page. ^_^
See also Fun With Paints for paint on paper ideas.
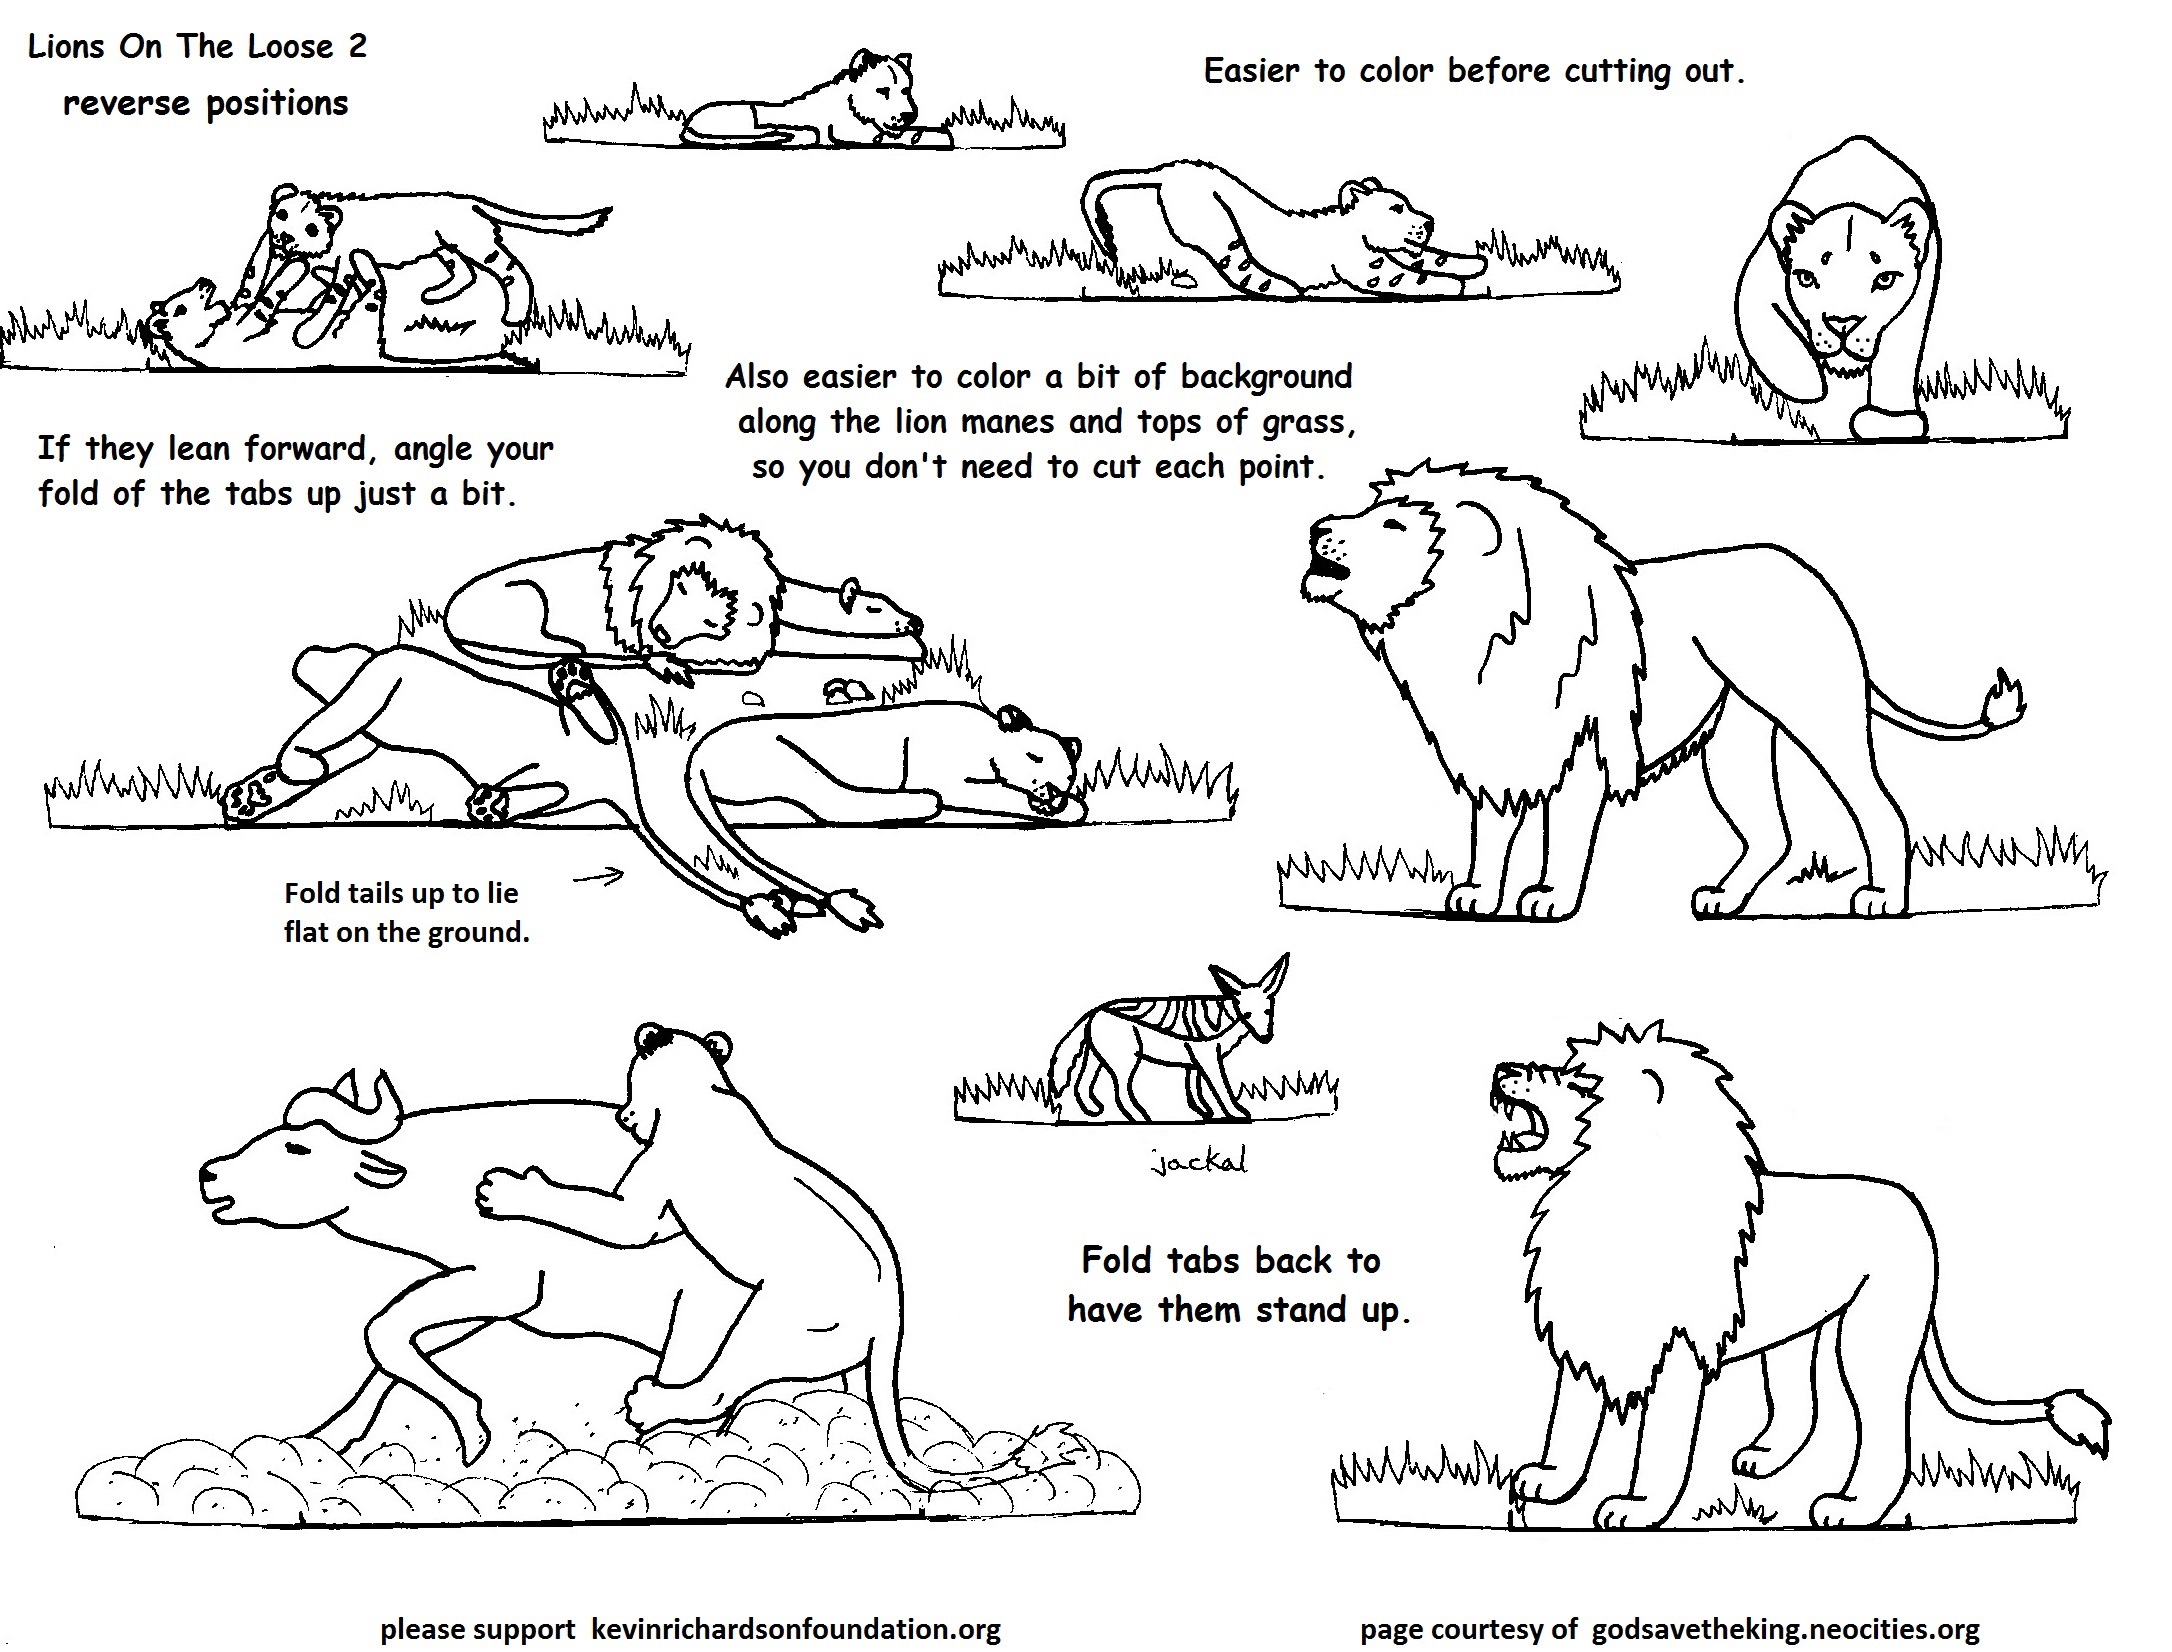
Lions on the Loose
~*~ link to this section ~*~
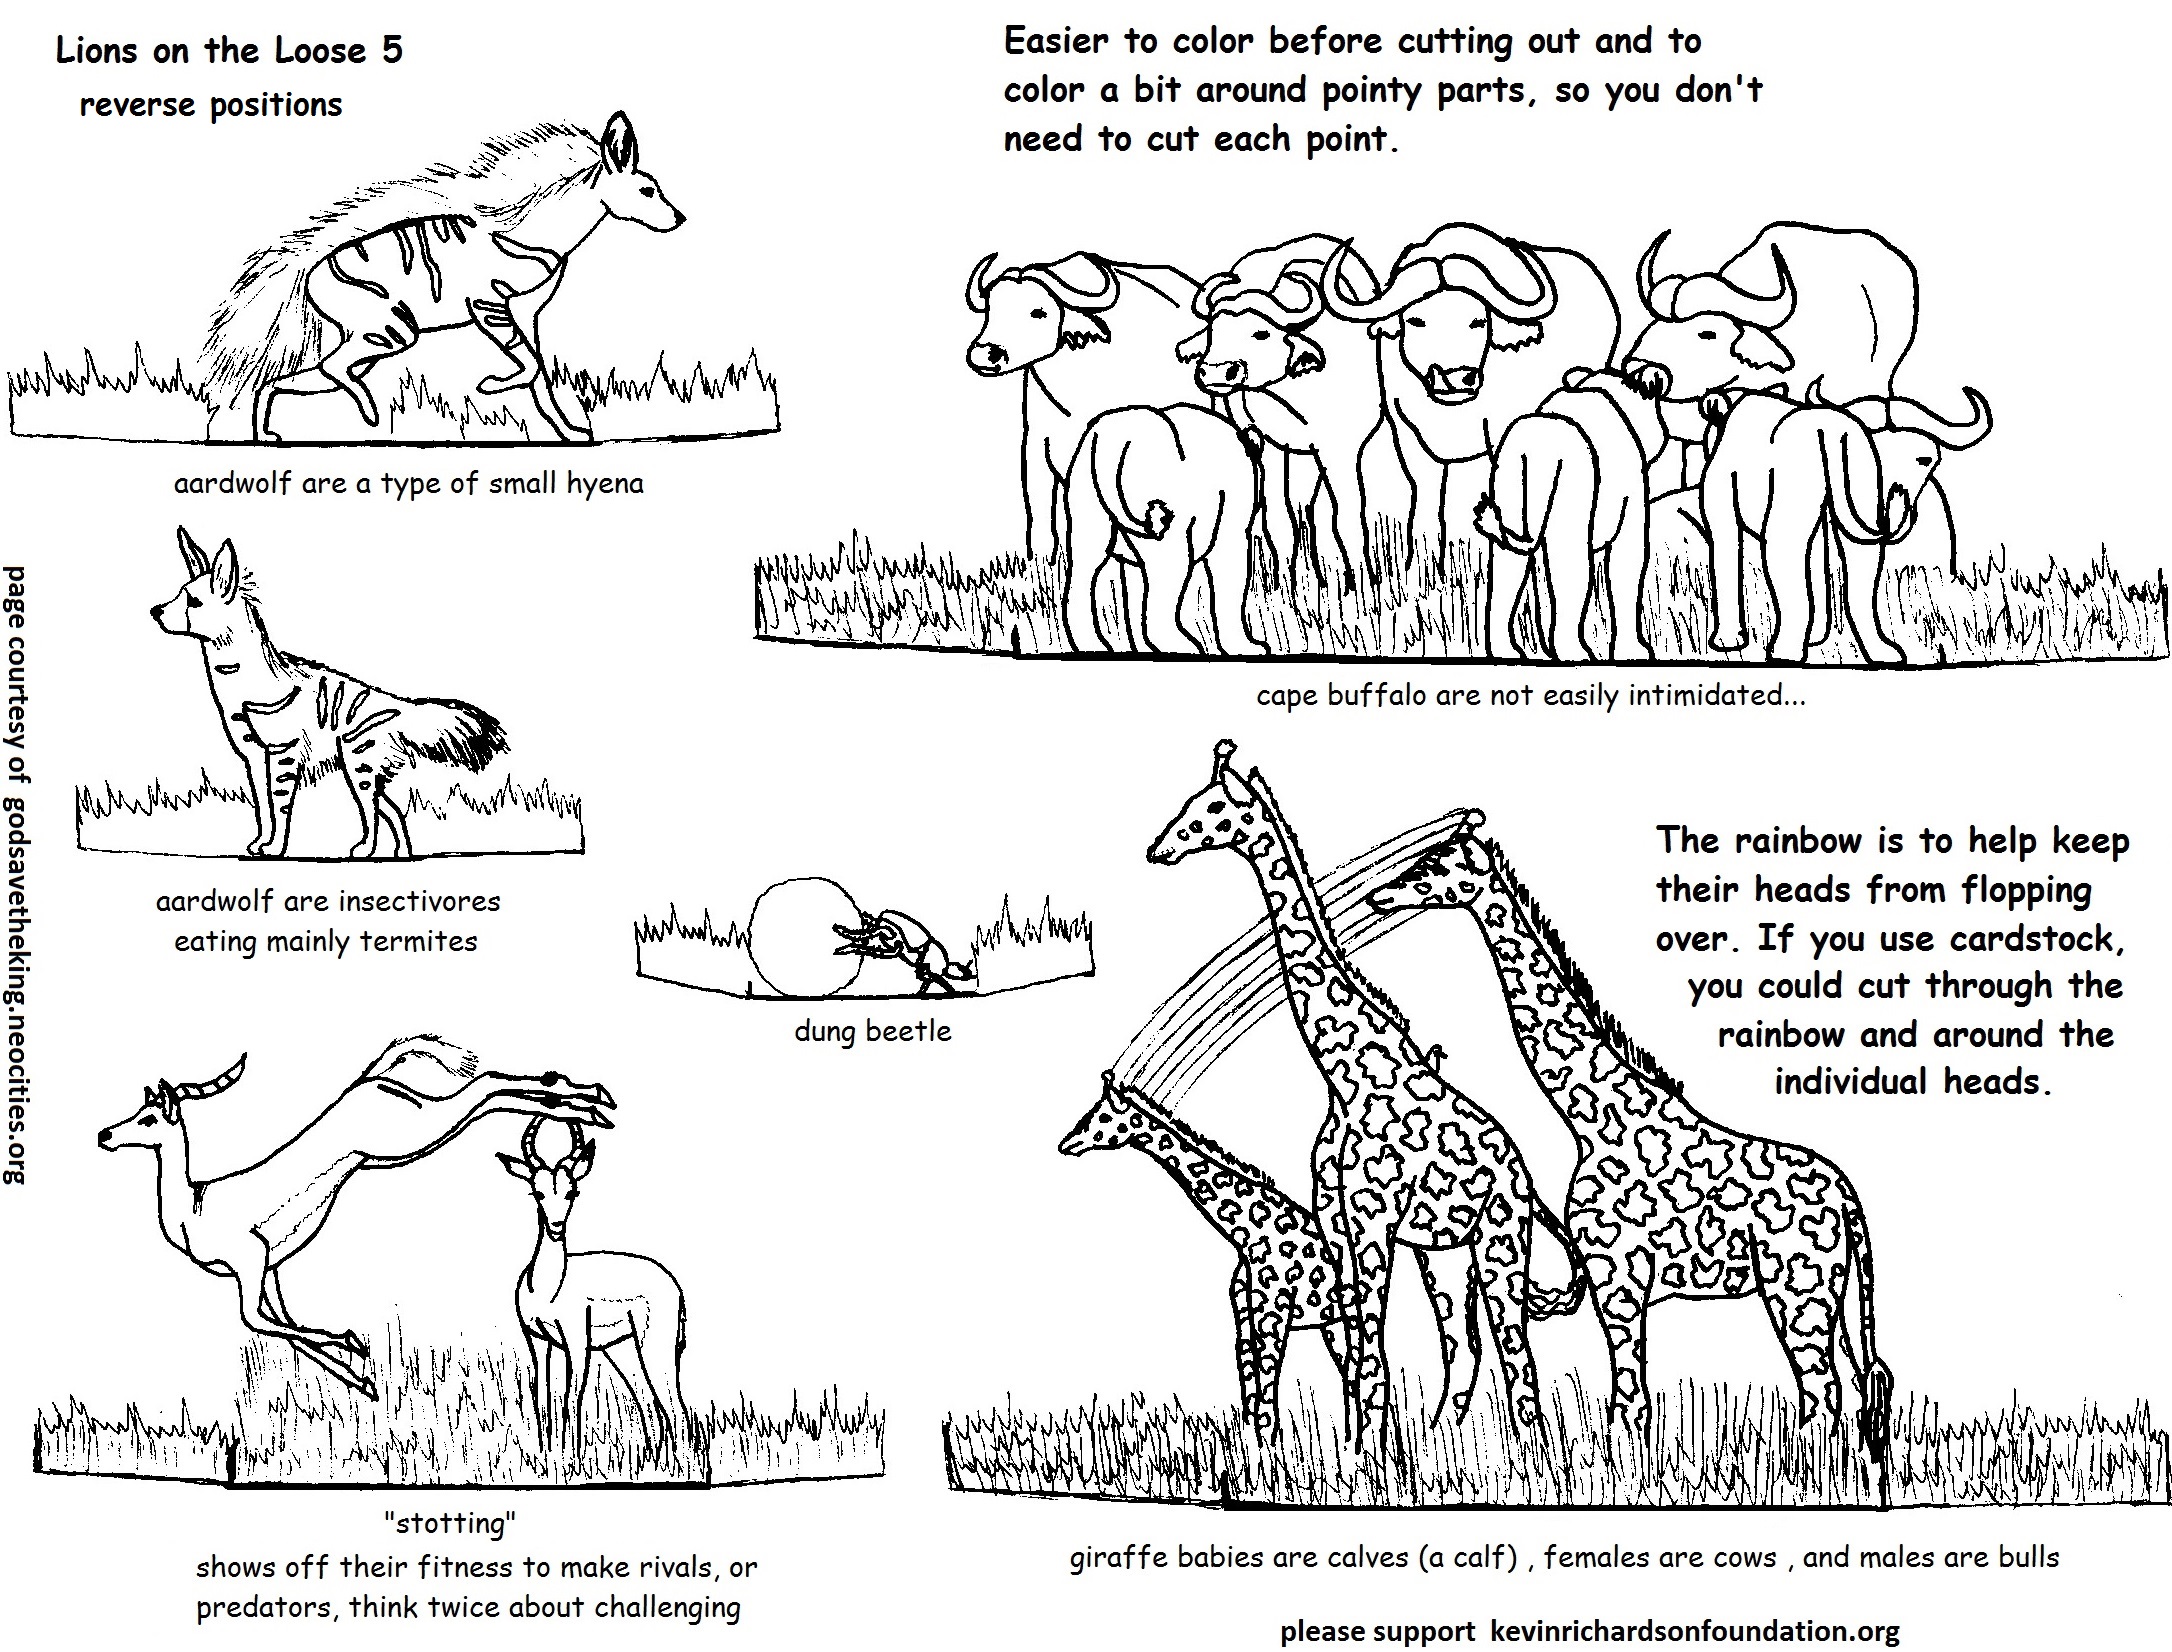
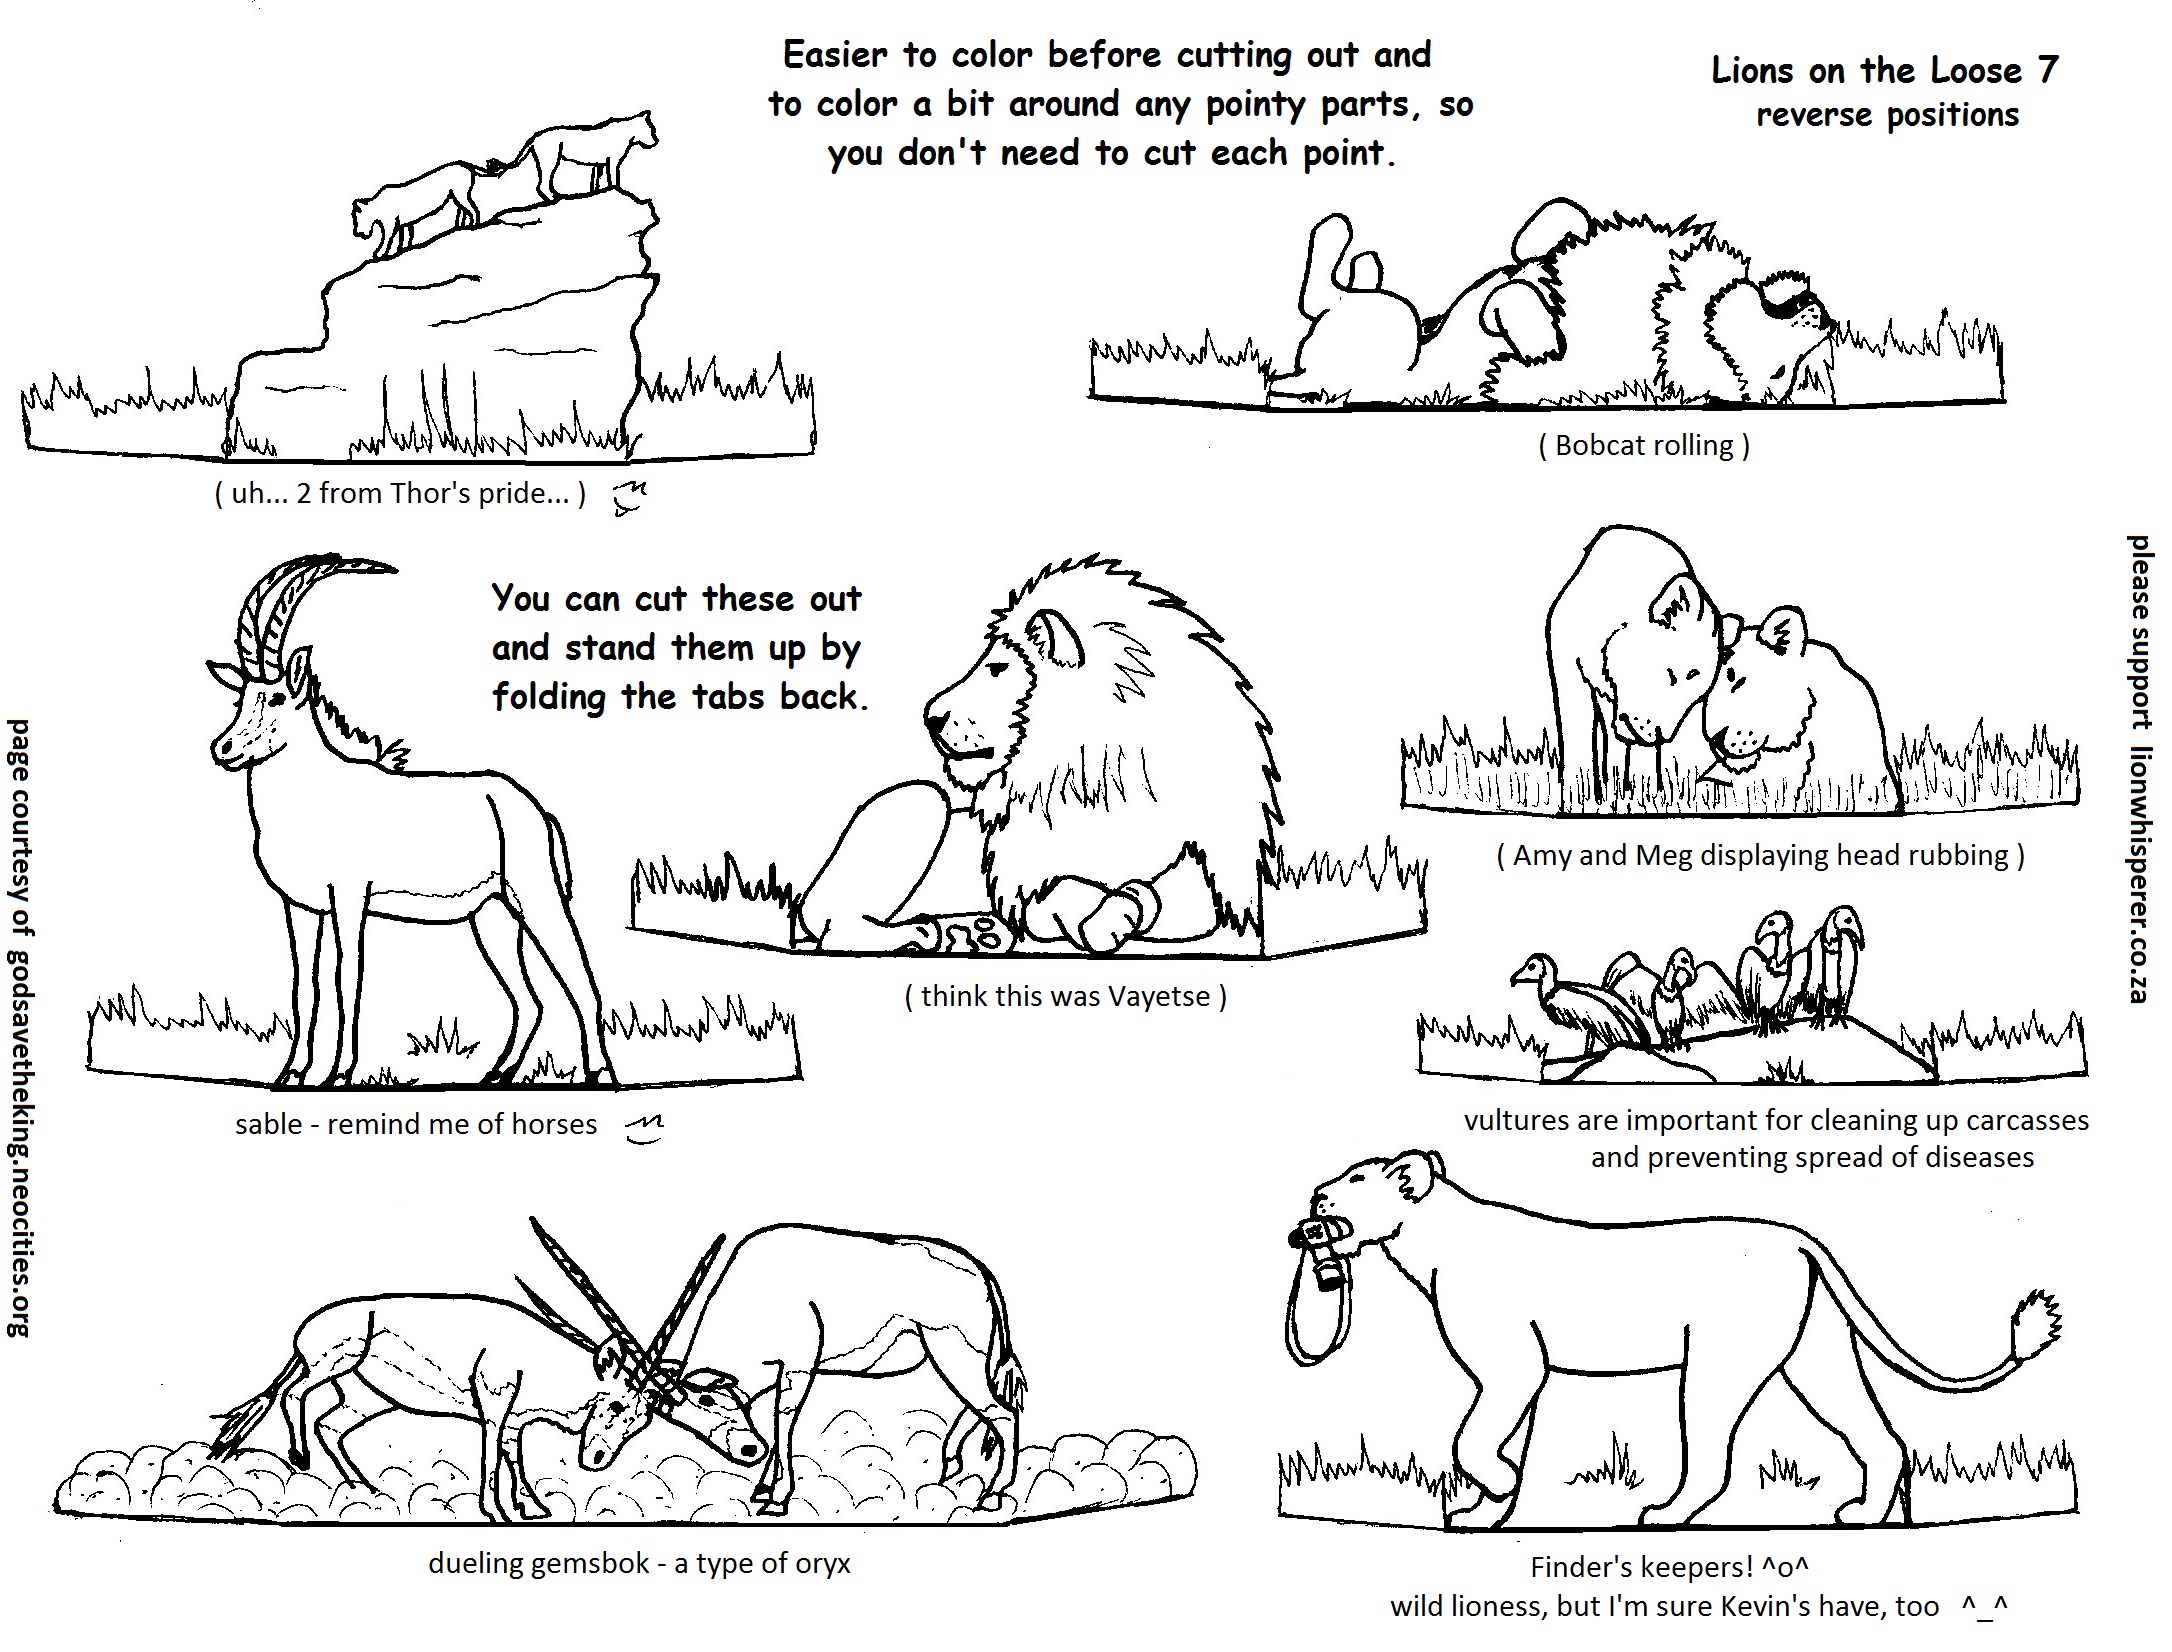
You can make your own lion pride with these paper dolls. ^_^ Use the "reversed" version to have the poses facing the other way.
It's easier to color them before cutting them out - and easier to cut out if you color a little background around the lion's mane and the tops of the grass tabs, so you don't need to cut each point (just go straight along the tips of the points). ~ They're light and will blow over, so don't put them where a lot of people pass, or they'll lie down all day. ...wait, that's what real lions do. ^_~
Making dioramas is fun. If you want to make one with these, leave some paper at the bottoms, instead, and fold that back for tabs to glue the pieces to a piece of cardboard or shoebox, which are great for dioramas. Decorate the bottom of a box as the background, then the sides as the ground, background extension on either side and the sky. Lay out your pieces to make sure how you want them before gluing them in place.
These are fun, and I plan to make more in different poses - and prey animals, too. ^_^
While creating a few new ones, I'm also pulling a bunch of poses from previous coloring pages and adjusting them so we can use them in this fun. ^_^
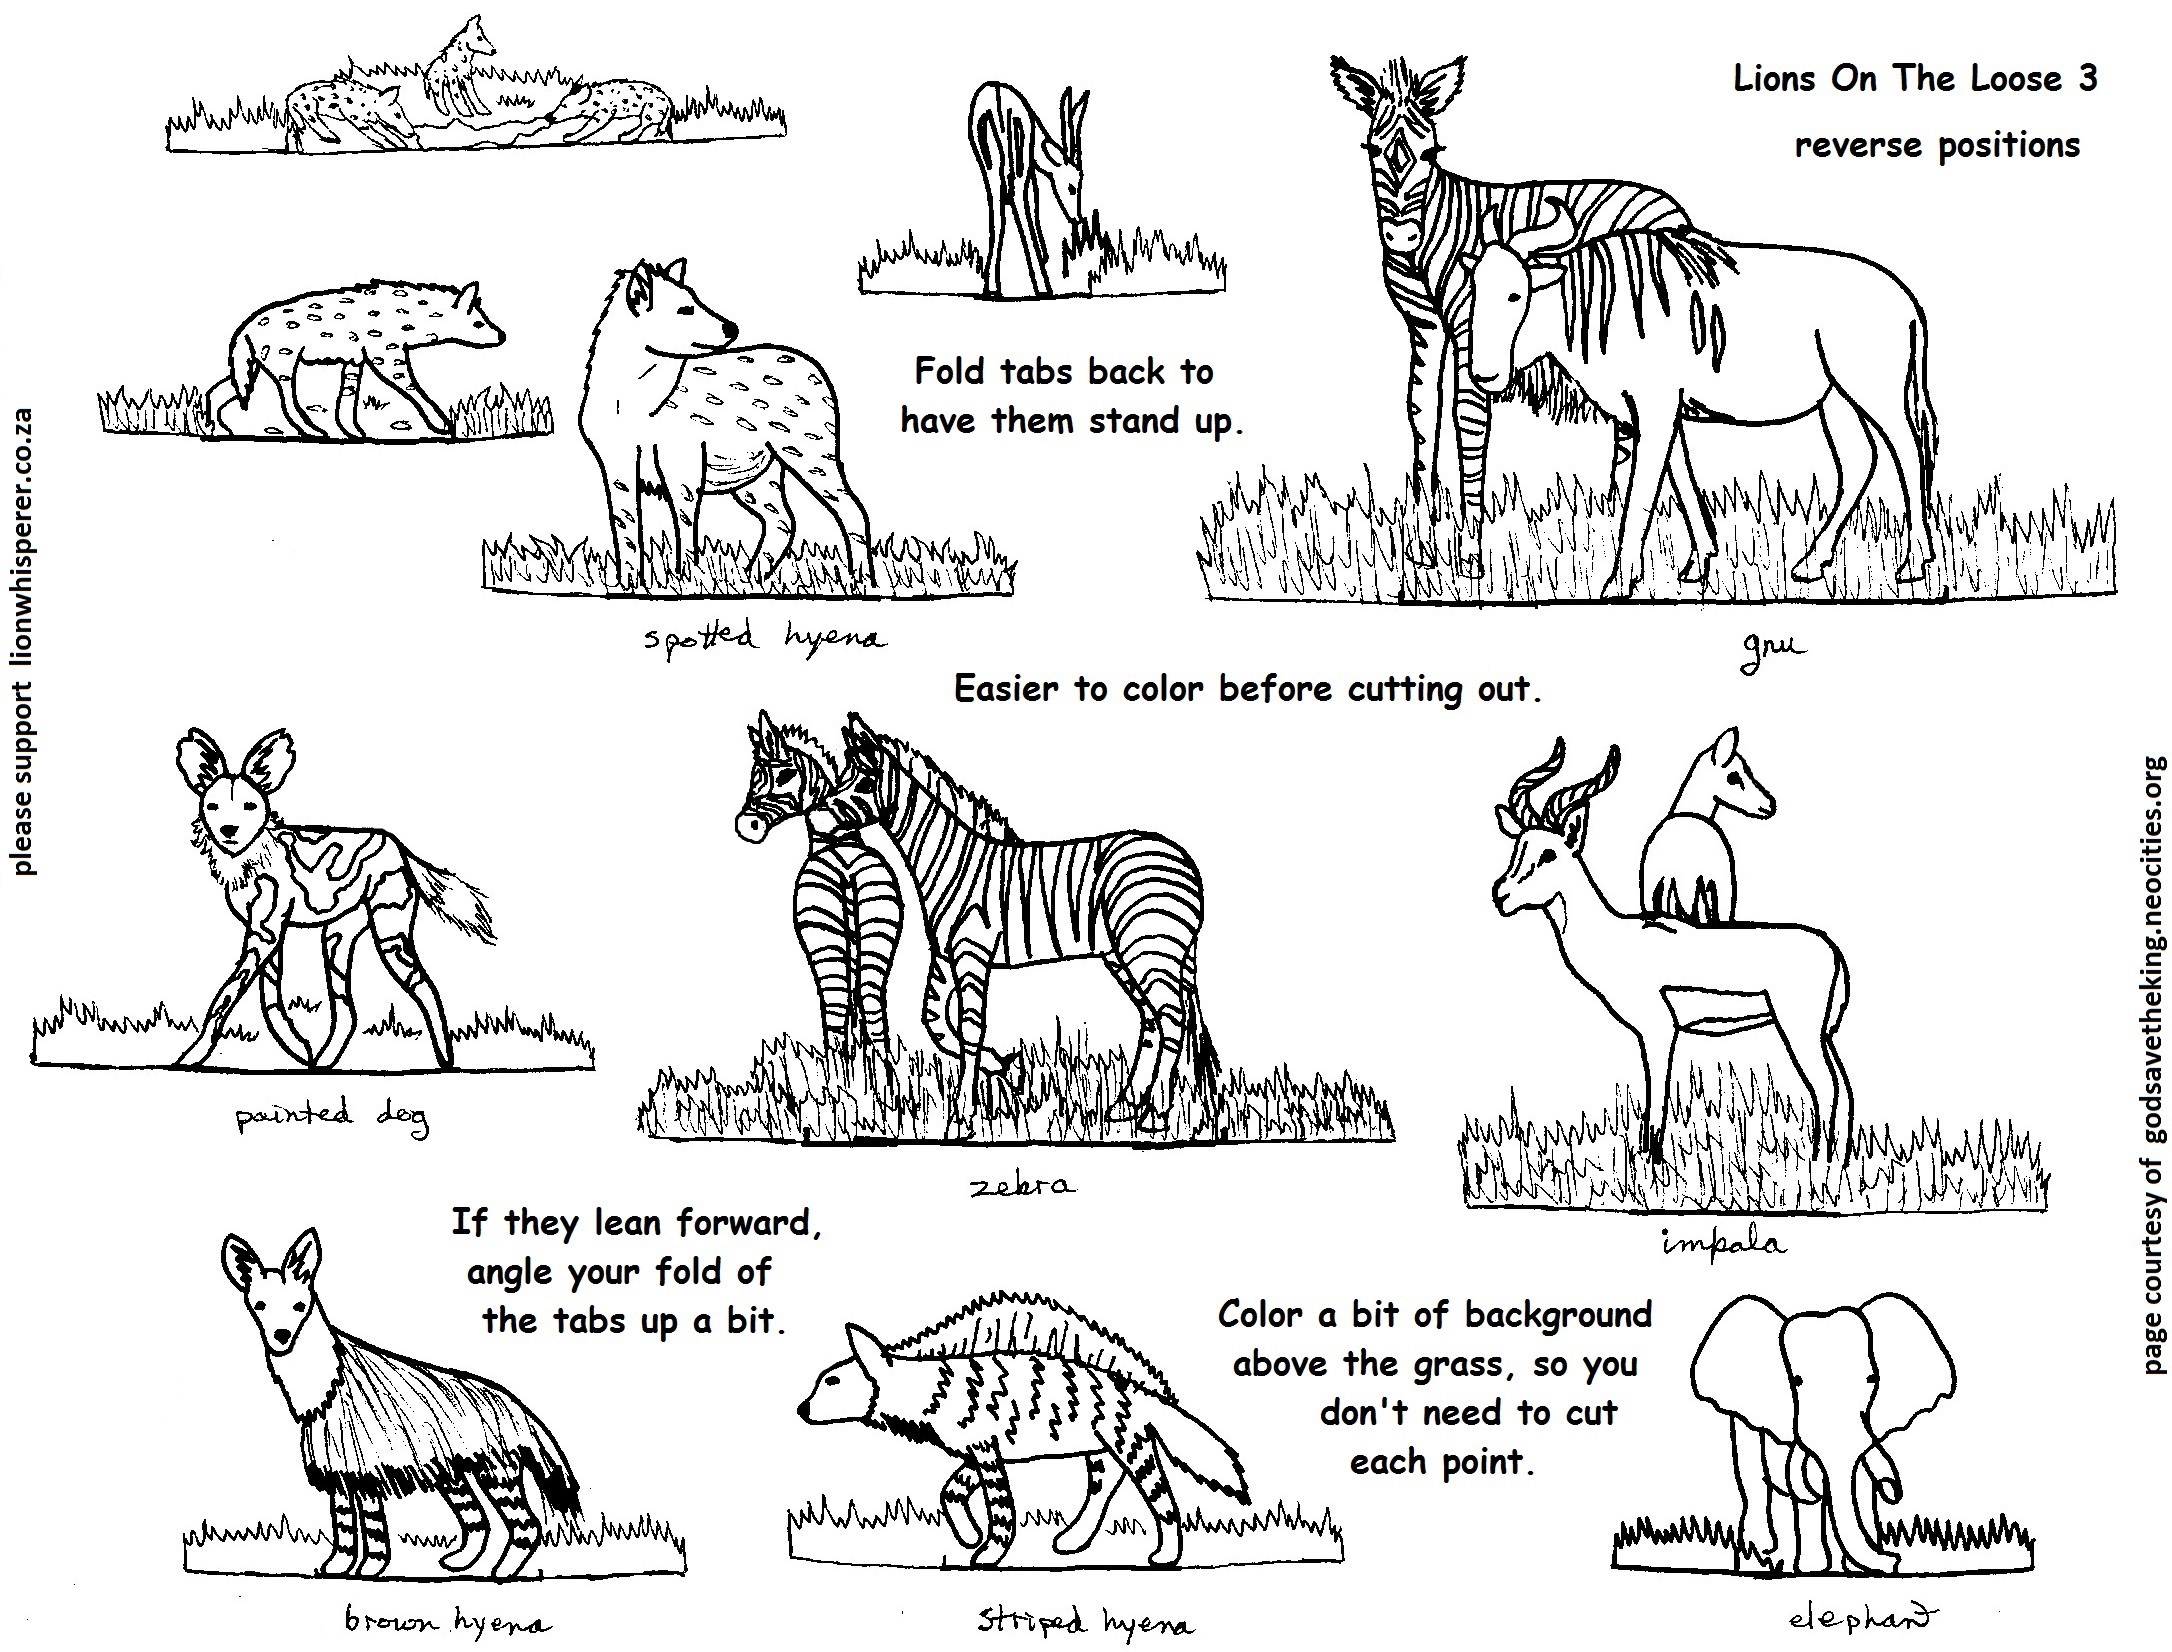
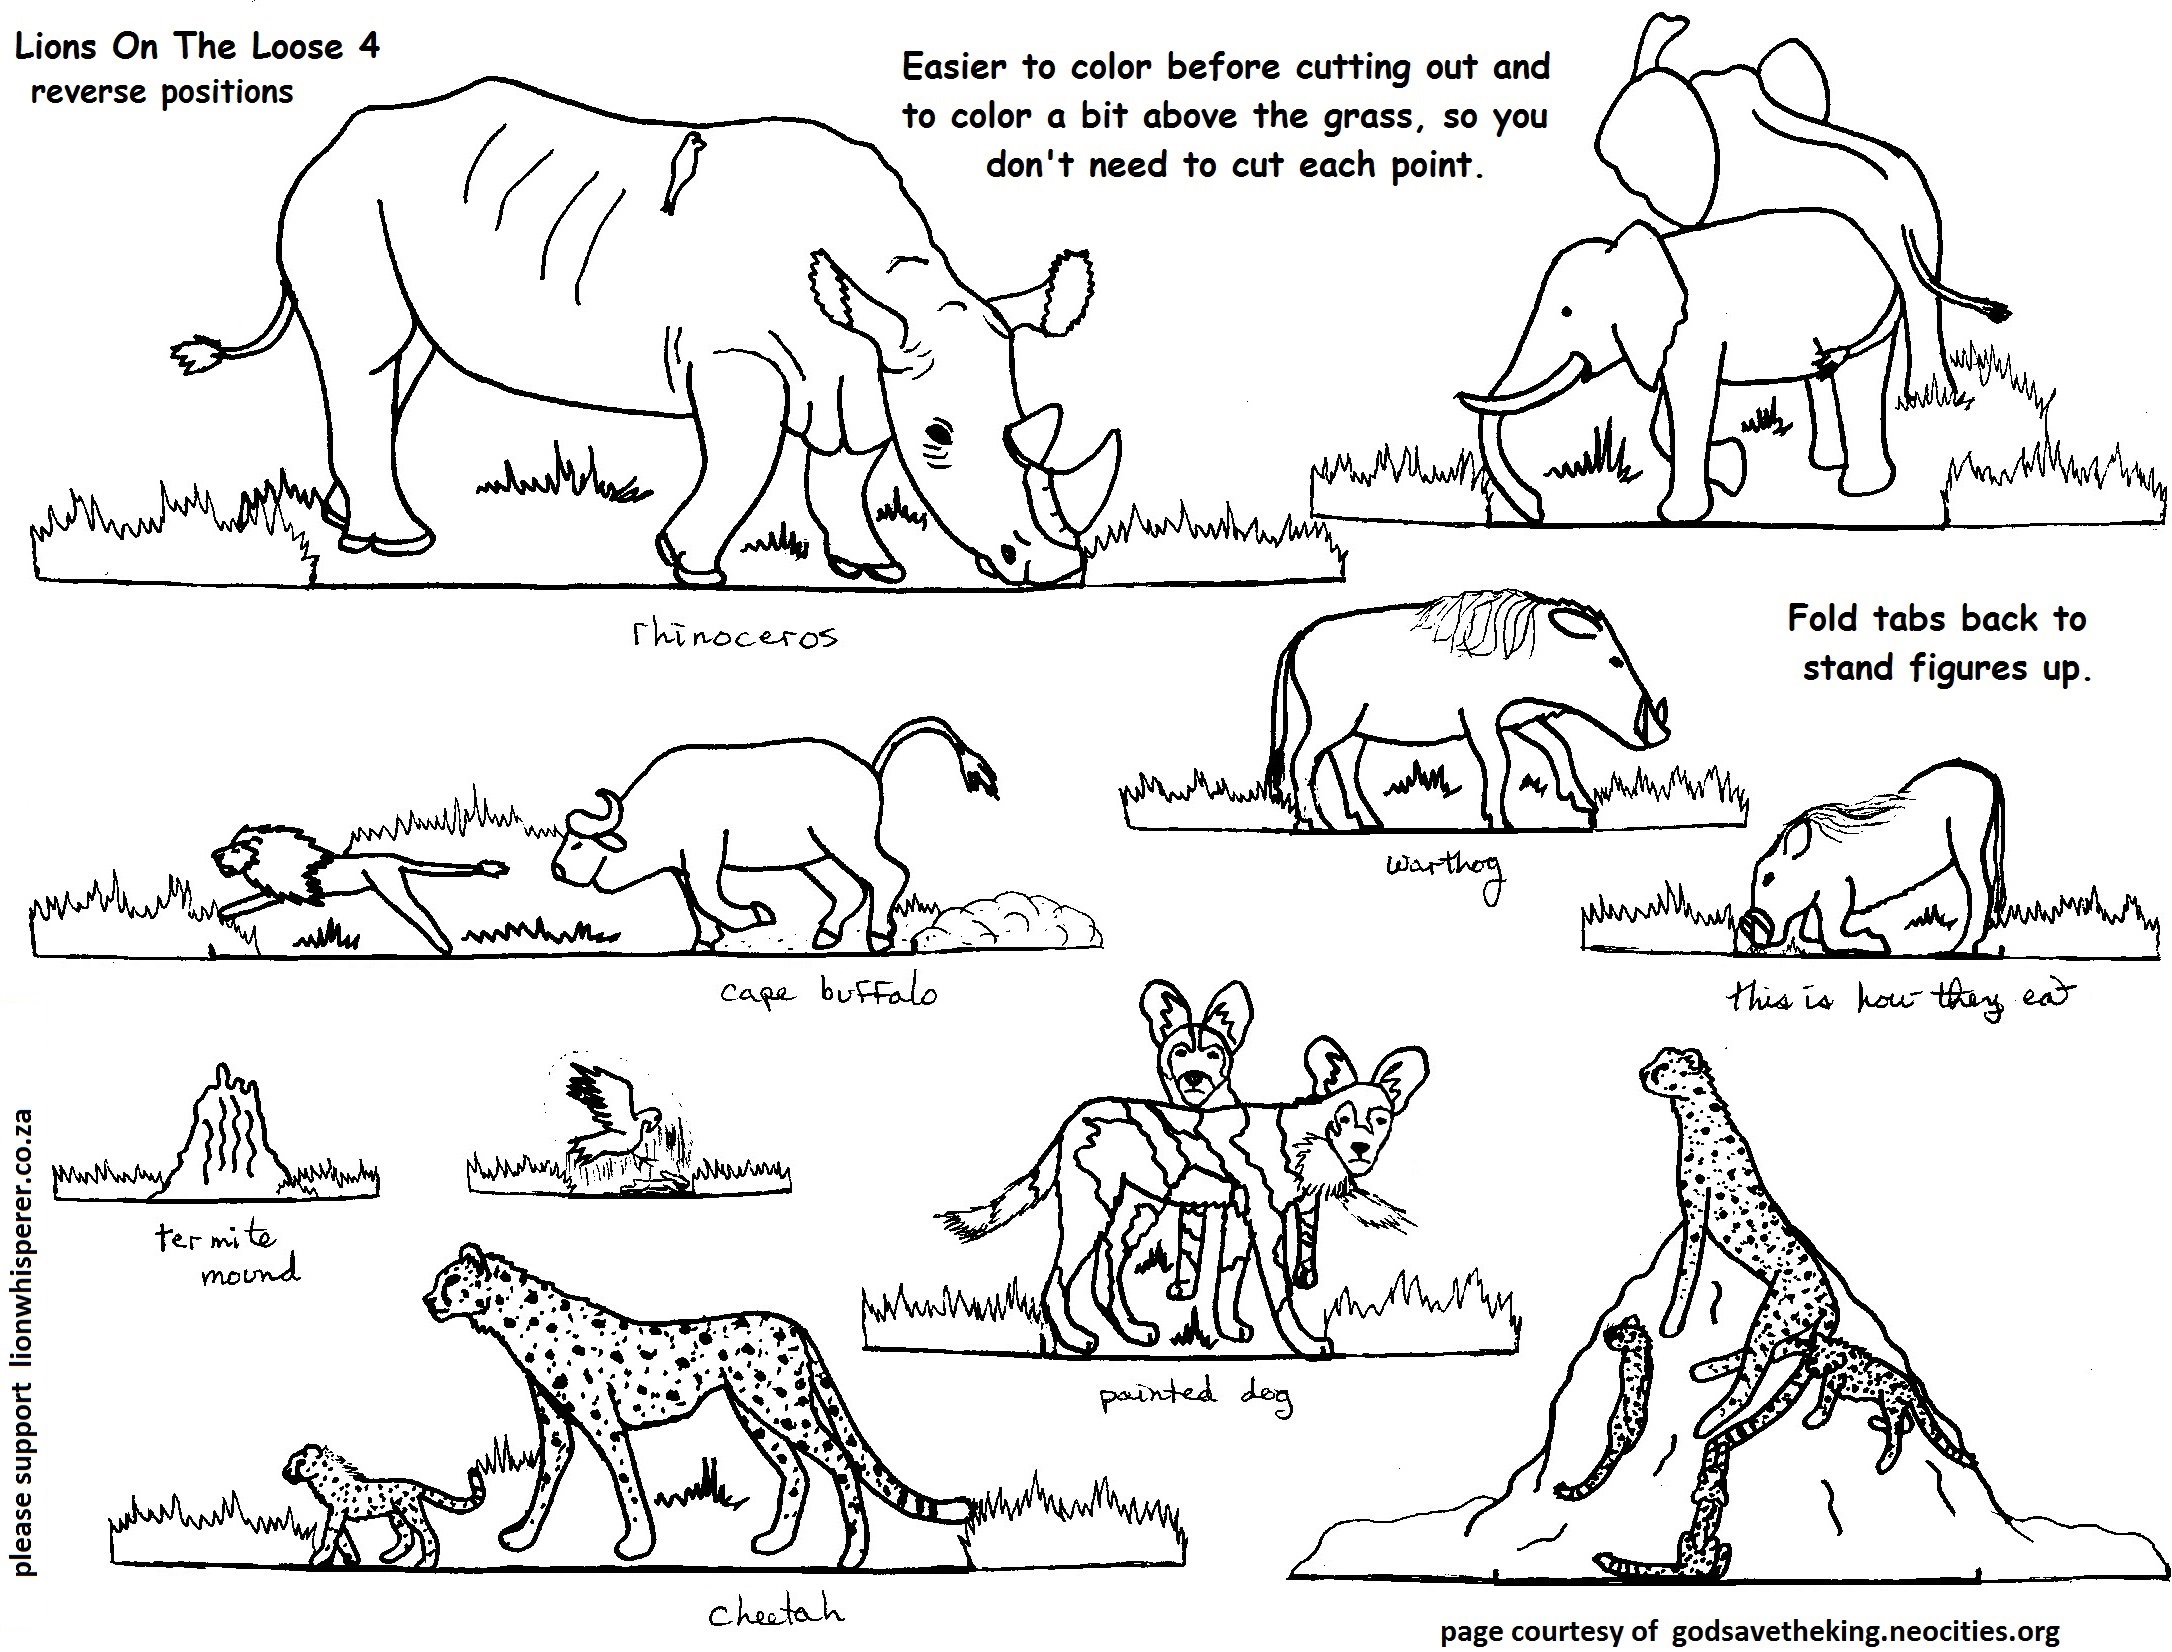
Here's a few yummy prey animals for your lions to stalk. Remember, only about 1 out of 5 hunts is successful - and watch out for other predators!
For interesting diorama inspiration, check out Artists Helping Children , No More Still , Storm the Castle (takes it seriously, wow!)...
They can be big or small, and you can use just about any container and even deep-dish paper plates or trays. Use a cookie tin or cereal box, an eggshell, custom-make your own from pieces of cardboard or wood, or even paper maché..! Be creative! I remember even making some with slits in the side of the box to have moving pieces - like water or animals on long tabs to move across the scene. ^_^ (If you don't have cardstock, you can use manilla folders.) And cutting out pictures from magazines (with permission! ^_~), to decorate the background or to stand up - glue them onto thicker paper and remember to have tabs to fold back.
~*~ We made dollhouses this way, too! Wish I had photos of them, they were pretty cool! My fav' was a two-story with staircase and everything. No money for fancy store-bought ones, doesn't mean you have to do without. ^_~
Which reminds me : Many stores are happy to let you have their empty boxes, and they have all different shapes and sizes for whatever your project might be. Also, a tip for using cotton balls : Rather than just gluing a ball on, pull them and spread them out for nice looking clouds, snow, or even fur.
Got mixed up when timing the layouts, so had to finish this one out of order. ^.^ So, this week is pg149, and next week will be 148, then 150... Nobody probably pays attention to the page numbers, anyway, so this is probably just a note to myself. ;p
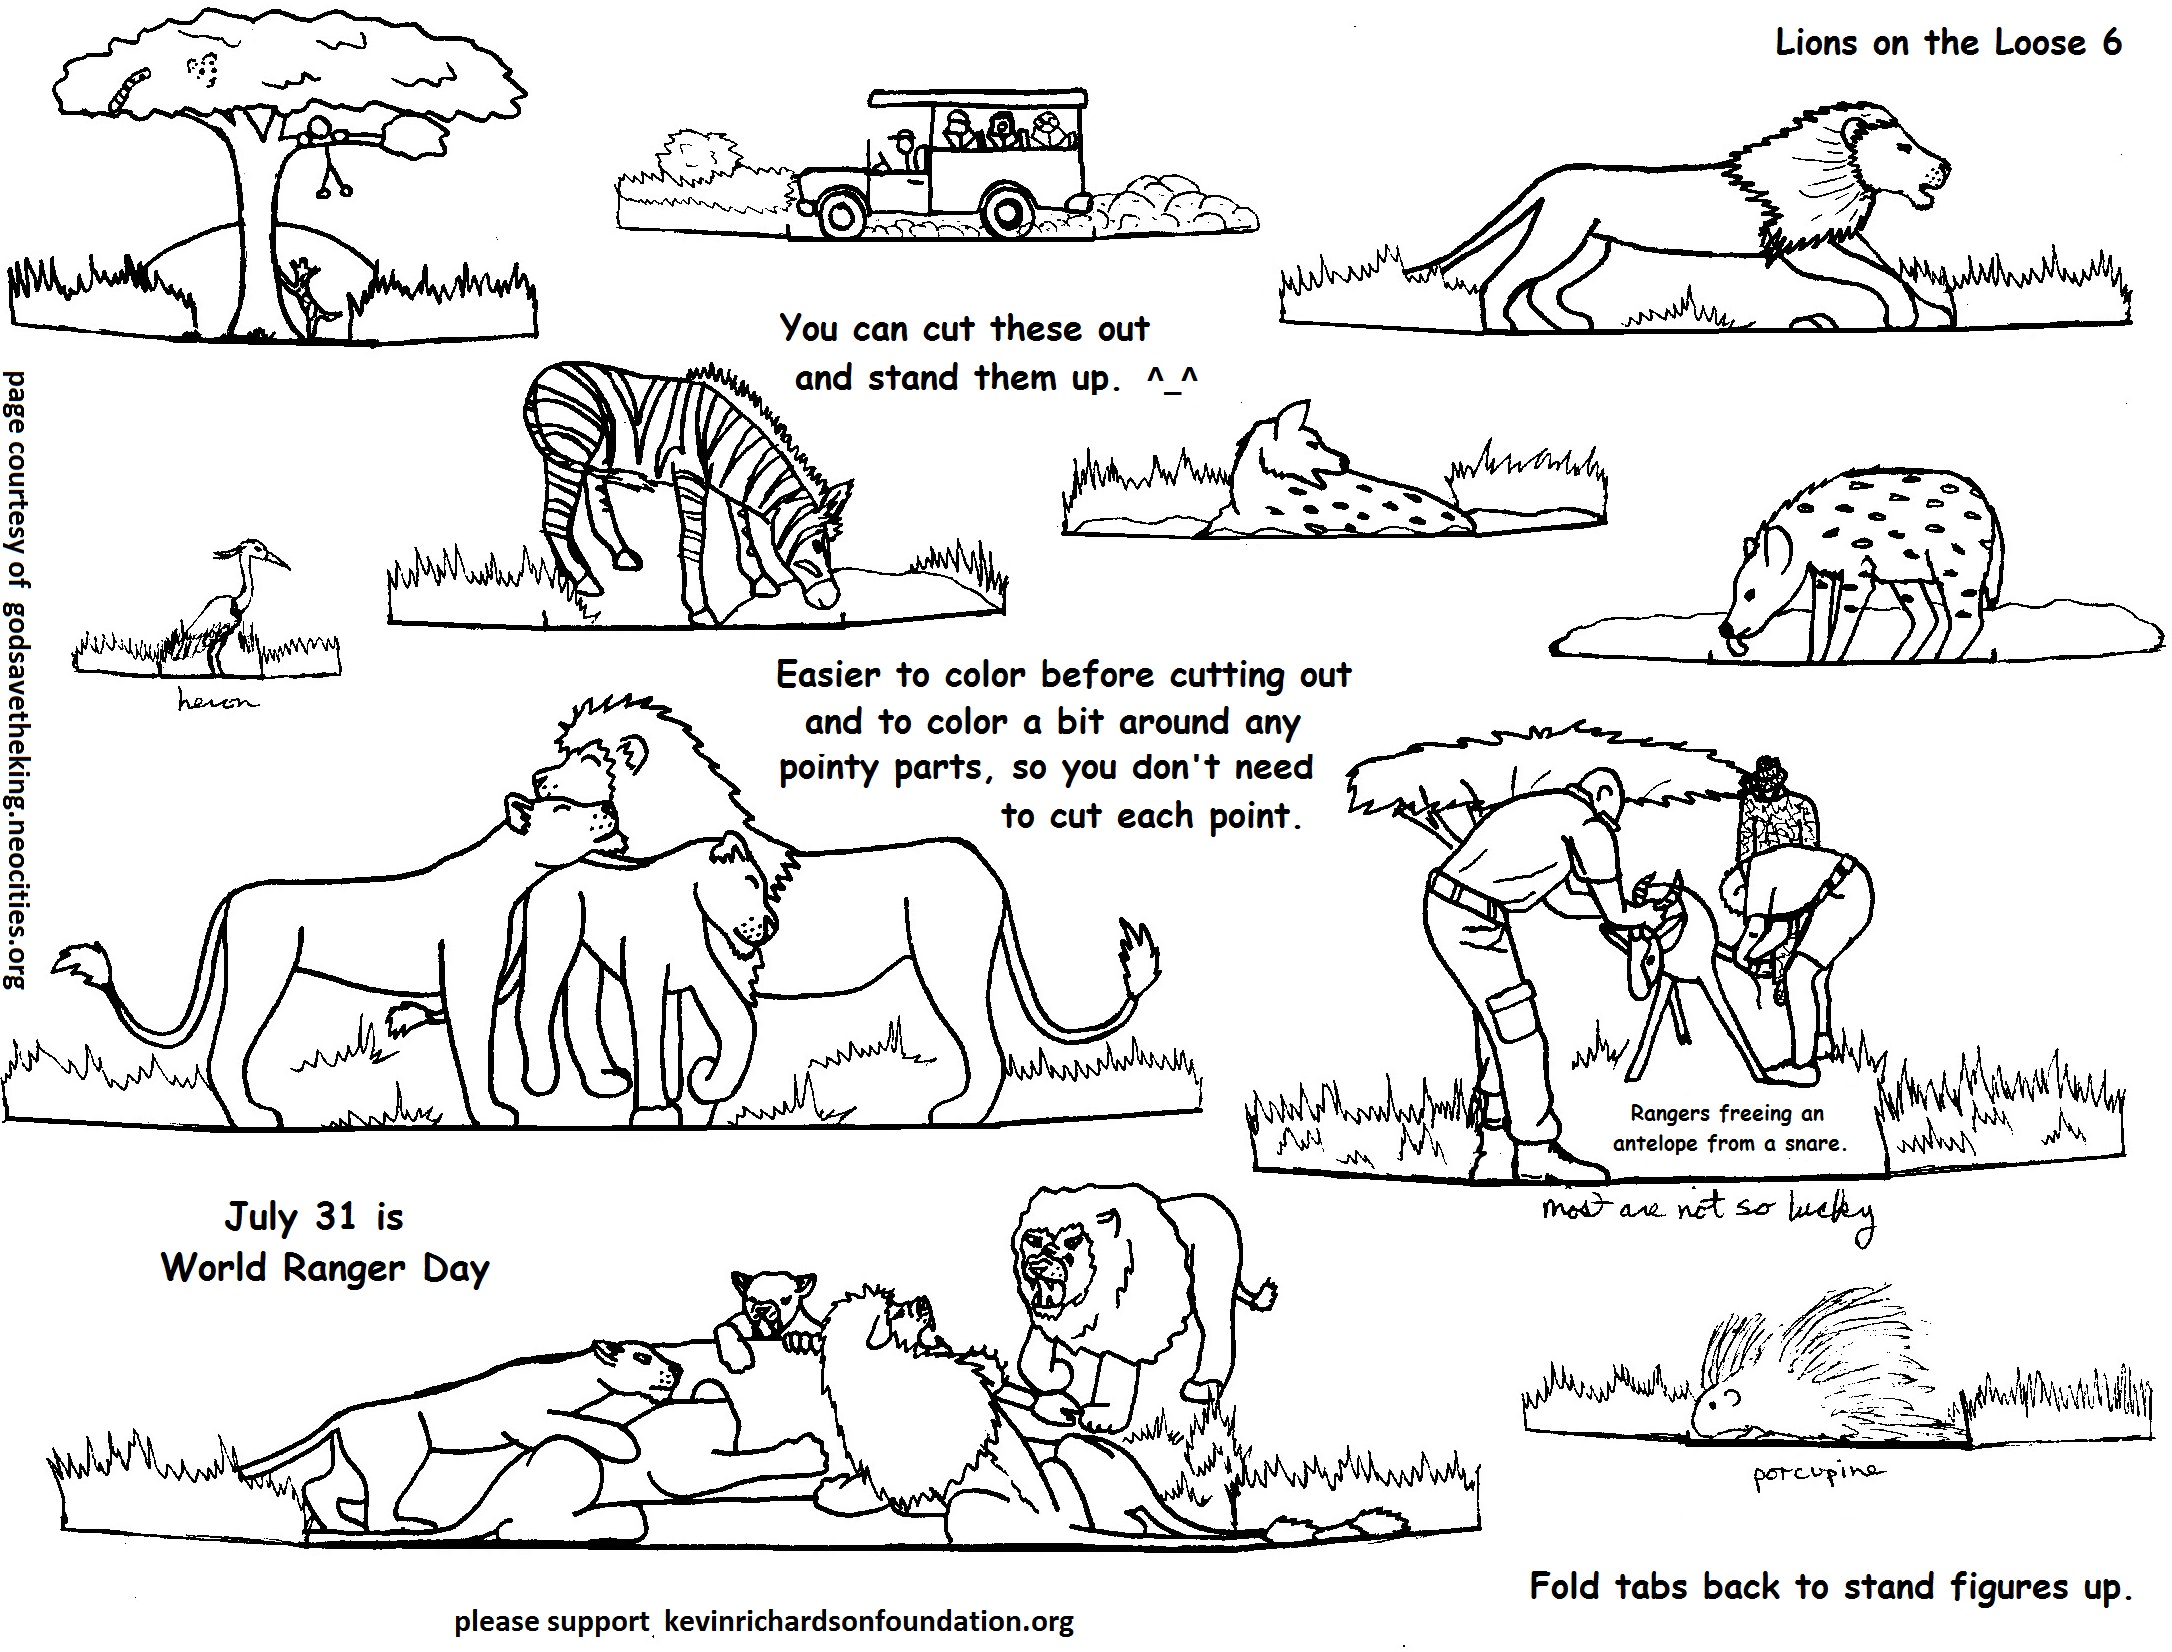
July 31 is World Ranger Day - Could have swore I posted about rangers issues in the pandemic, but I can't find it. Probably got sidetracked and thought I did but didn't.
This year has been exceedingly hard on the men and women who protect our wildlife, especially in Africa where most, and often all, of their income is from tourism. No tourists, no pay. Yet, wildlife still needs protected, and their communities still need food and other necessities. Kevin shared a video of some time he recently spent with a team in the reserve his Sanctuary is in. Until tourists can return, you can help the rangers and reserve staff keep up equipment and themselves in protecting lions and other wildlife through the Kevin Richardson Foundation's campaign #dowhatyoucan. Let's help make sure there's wildlife left to enjoy when we can travel again! ^_^
Many places say that impala are antelope, and not gazelles, and that only gazelles stott. It's funny, because there are a lot of photos and videos of impala stotting. ^,^ SO, it's a bit confusing, but impala often do stott - whether they're a gazelle or not.
"Stotting" is bounding high into the air in sort of a stiff-legged, bouncy prance. Other animals do things like that, too - maybe you've seen rabbits friskily leaping high about each other in your yard. General belief is that the behaviour in animals is to show off their fitness to deter rivals, impress potential mates, and even to make predators think twice about trying to chase them. Depends whose around when they're doing it.
A few of these lion poses are based from images of the KRW Sanctuary lions. ^_^
Africa has such diverse and numerous species of deer-like animals!!! In the States, we have what? Whitetail... and... elk over by the Rockies. ^o^ Okay, those are the most well-known. There's also pronghorn antelope and mule deer over there, and north are caribou / reindeer and moose, south has a few non-native species mainly in Texas...
Africa has... impala, Thomson's gazelle, springbok, kudu, sable, gerenuk, blackbuck, oryx, eland, suni, roan, waterbuck, steenbok, nyala, klipspringer, lechwe... and there's even more... ^,^
I said "deer-like". ;p Antelope, gazelles and deer are similar but not of the same family. The deer family is called "cervidae" and have antlers that are shed each year. Antelope / gazelles are part of the "bovidae" family (like cows, sheep, goats) and have horns, which are bone, part of their skull, and permanent. If one breaks off, it won't grow back, though it may develop a bit of stunted, deformed growth at the break.
So, on that definition: North America would only have one antelope, the speedy pronghorn, except it's not even a true antelope but actually a family of its own. So, we have NO antelope over here ^,^. Africa has 71-72 different ones. (A few sites said 71, but Kruger Park says 72.) ~ An interesting tidbit: Like deer, antelope have herds, a male is a buck, a female is a doe, but baby antelope are calves instead of fawns.
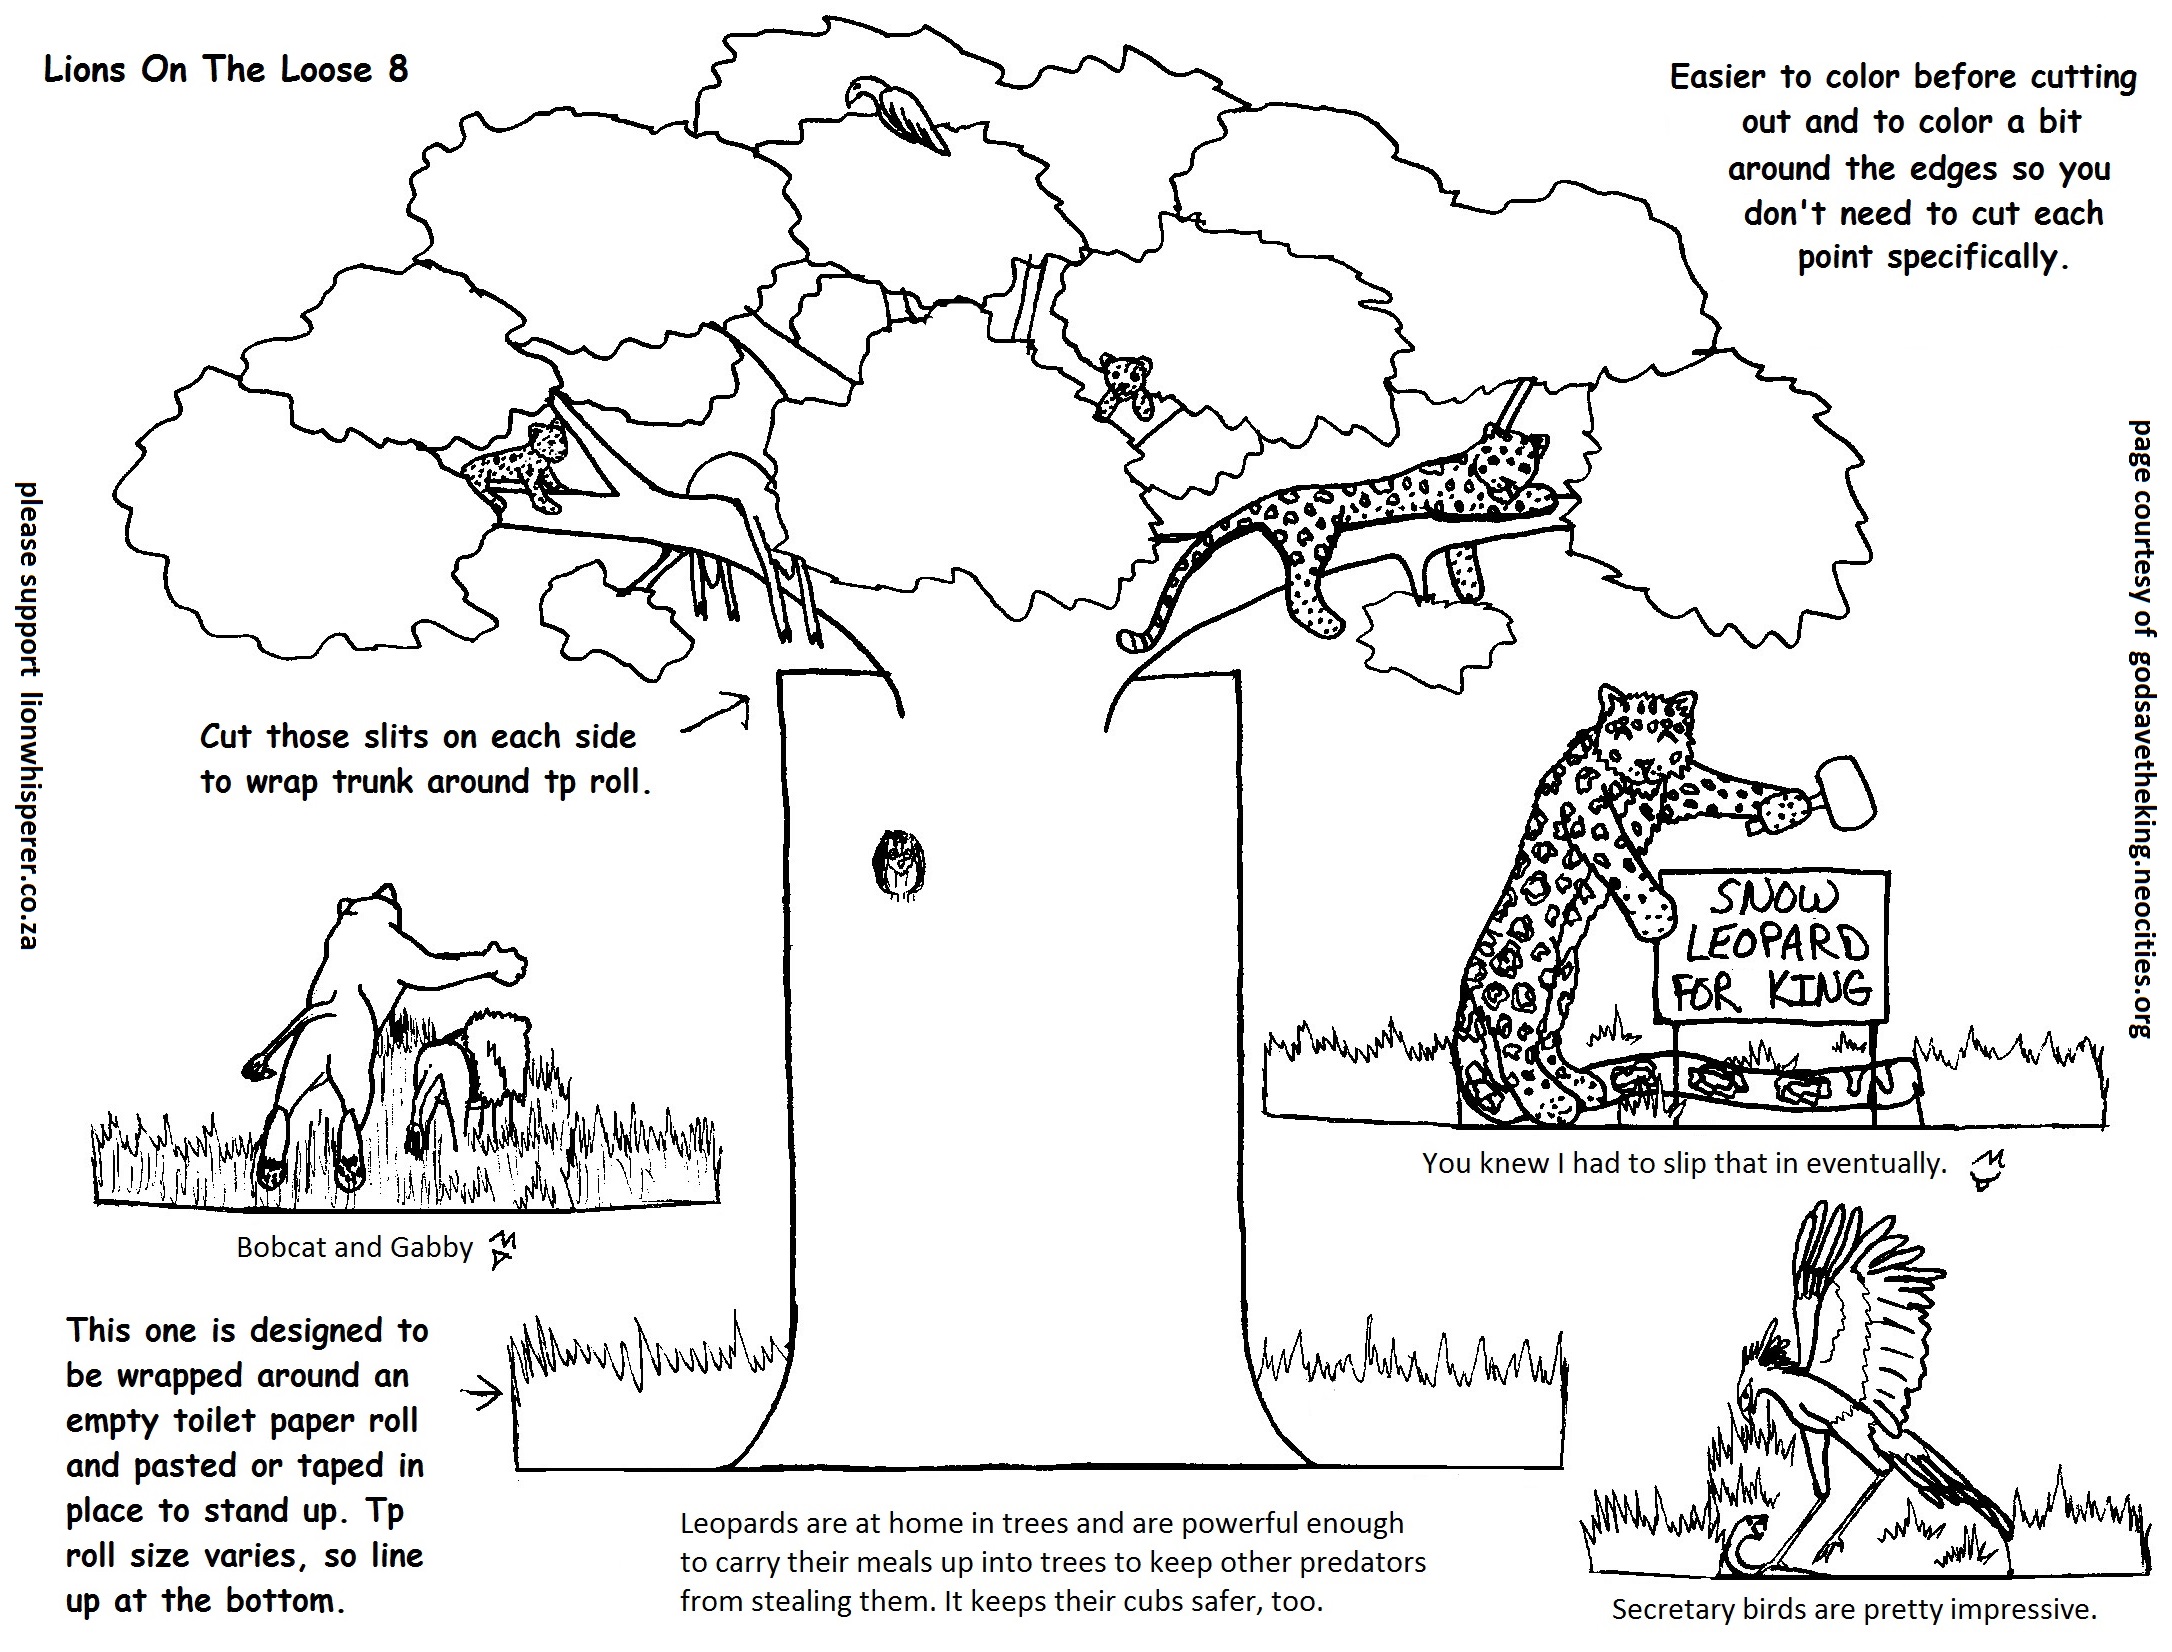
I think this makes 67, but I have at least one more in mind to finish. You can click on the photo of the tree sample to see it larger.
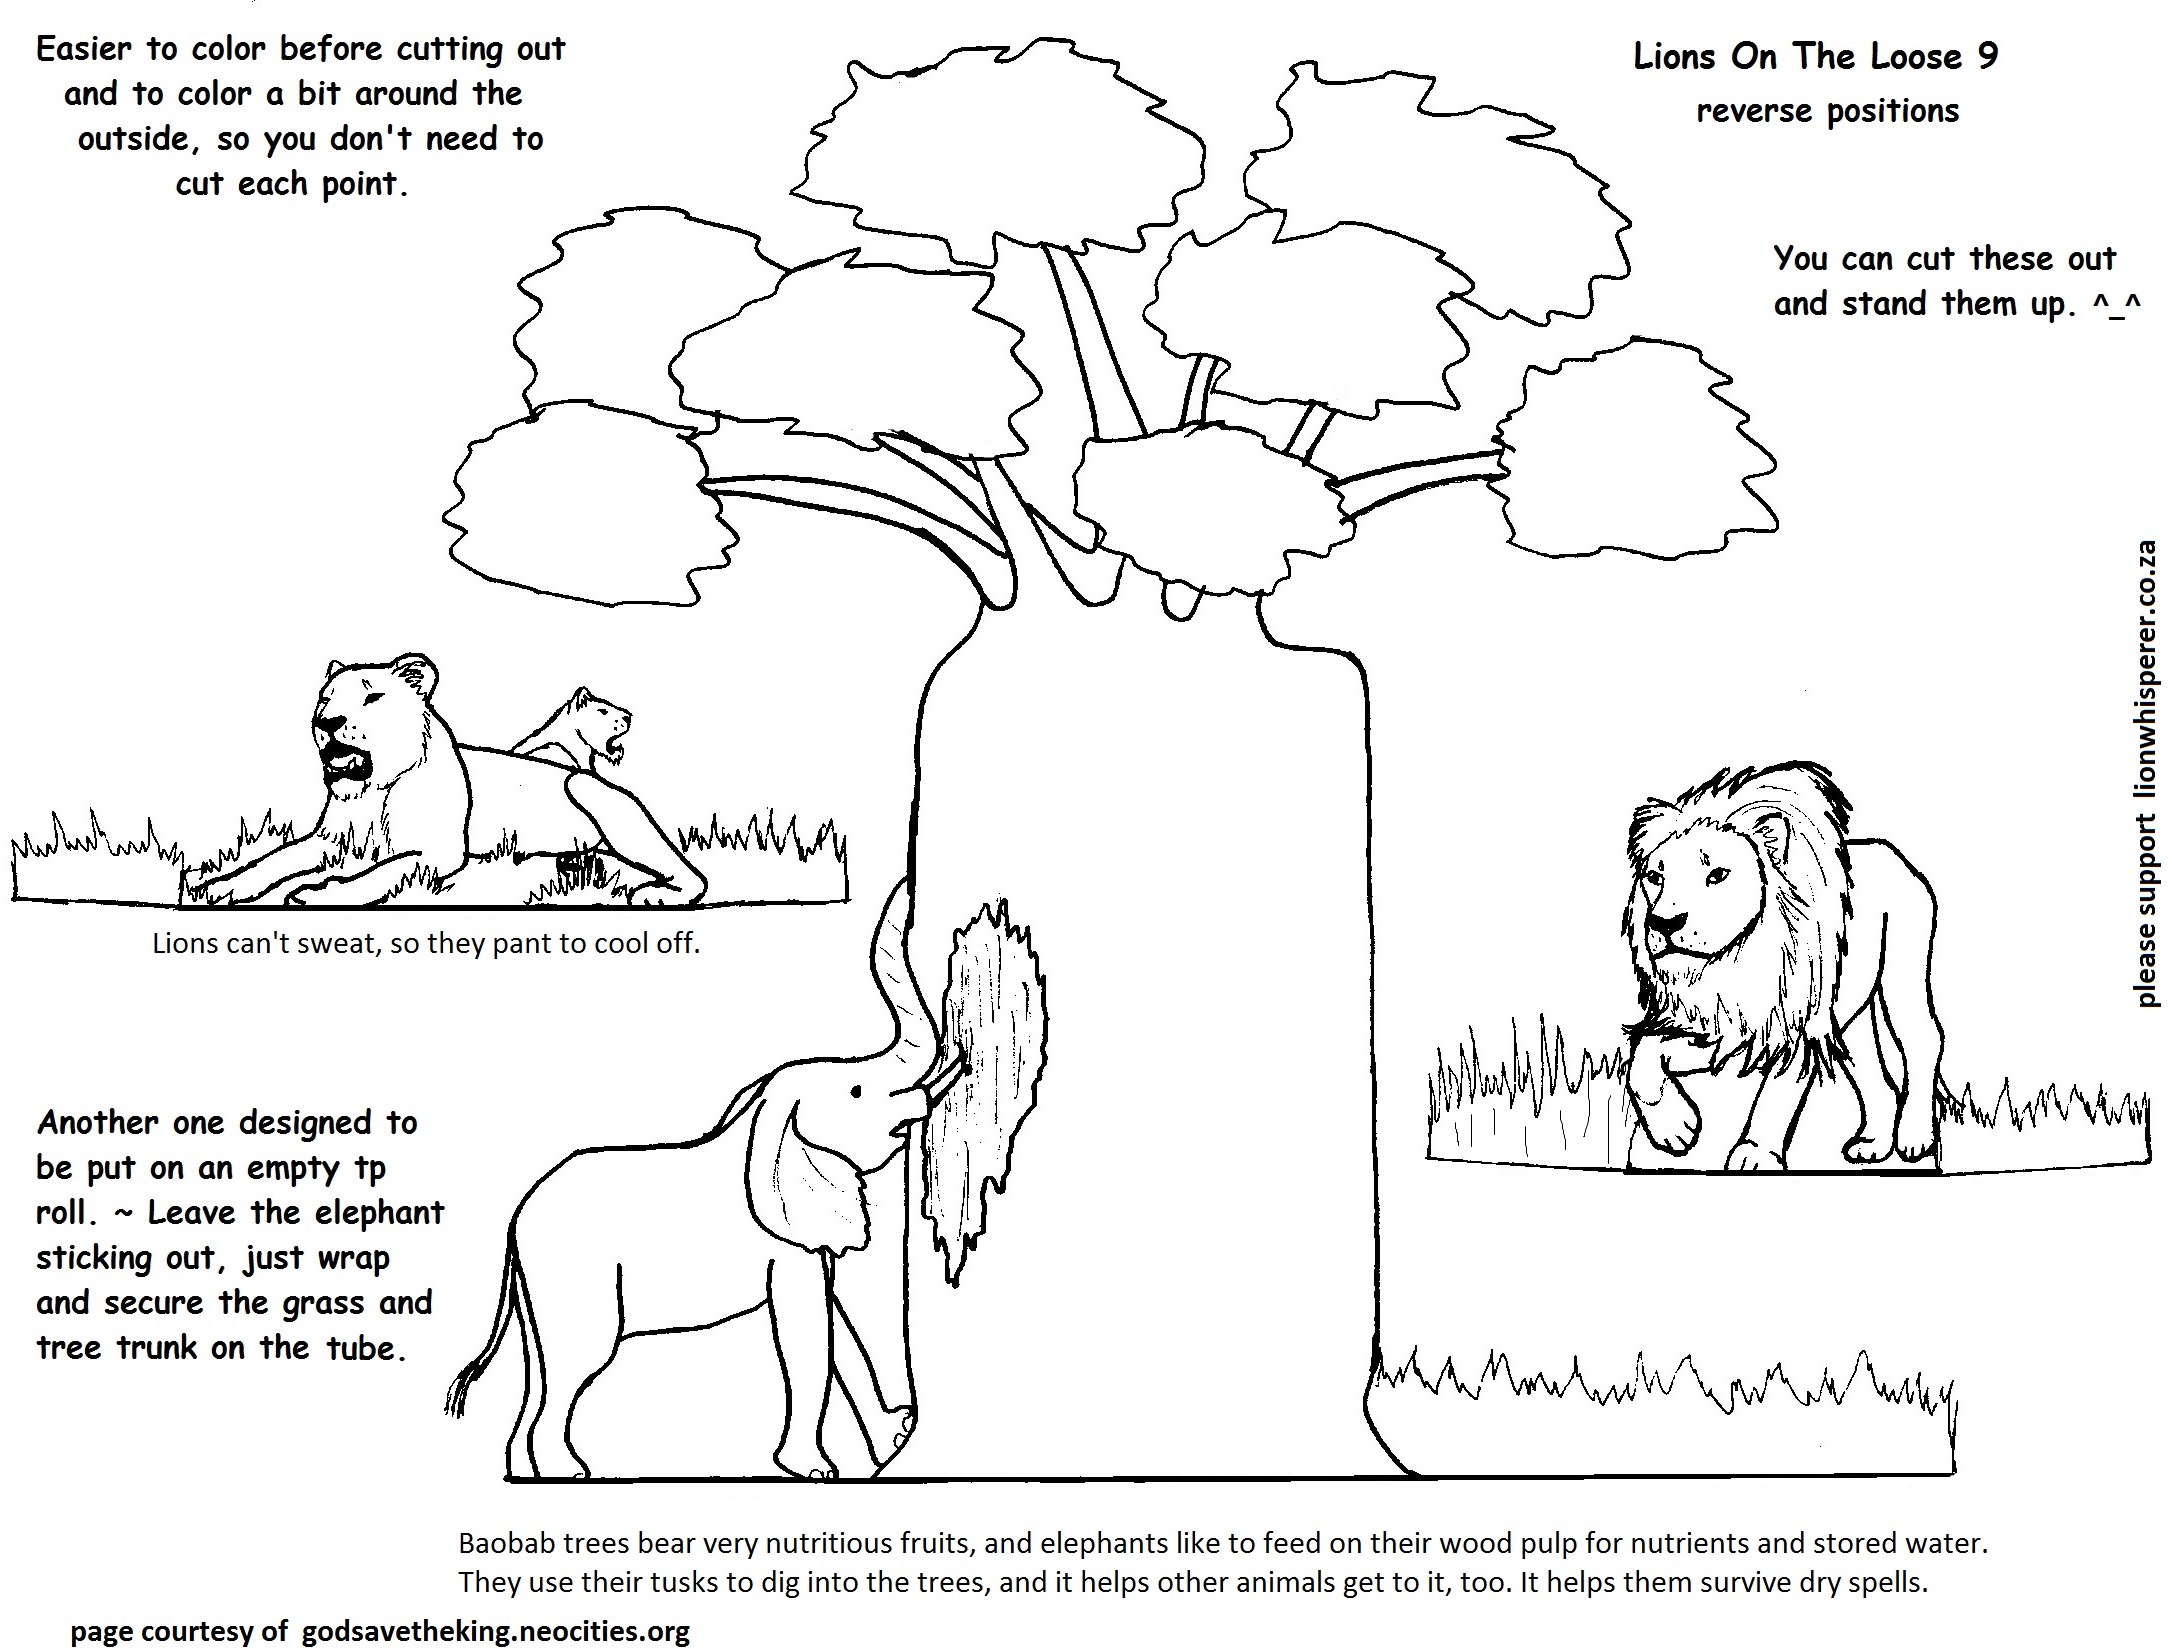
Baobab tree fruit is highly nutritious, and all parts have some nutrition and use for animals and humans. Baobabs can store water in their huge trunks, and that helps them survive when droughts occur. It also helps other animals during dry spells. Elephants use their tusks to dig into the tree trunks and eat the wood pulp for nutrition and moisture. Other animals take advantage of these openings, too.
Sometimes elephants excavate too much of a tree and end up killing it. Other trees get large hollows in them but are able to keep growing around them and have been used as homes for animals and even humans. Baobab trunks can be so large around that they compare to the giant sequoias in California, but don't grow that tall.
This tree of lions was originally planned for the Lions on the Loose series, but it was taking too long to figure out how to approach it. So, I had put it aside and just now got back to it. You can leave it on the page, or cut it out and attach to an empty toilet paper roll to stand up. Remember not to make the line of glue too wide.
Here are a bunch of examples of live lions in trees: Africa Geographic has an article with photos ~ BBC Earth has a video of a lion getting stuck in a tree ~ the Jouberts have a few with firsthand insight: lion in tree , lioness in tree , and videos of lioness climbing tree and cub in tree ~ even Kevin and the Kevin Richardson Foundation have shared lions in trees: lioness in tree , vid of lioness in tree , sleeping lion in tree (that belly just gives me a giggle ^,^) , sleeping lioness in tree , this doesn't count , neither does this (that looks like the tree grew out of him ^,^). There were a couple more I remember, but I couldn't find them all.
Here is a variation of an easy craft we did as kids. We had made simple black construction paper cats for Halloween (fold paper in half, cut out rounded area from outer edge to make legs, use those pieces one for the head and the other to cut out ears and a tail, adding other color nose, eyes, whiskers)... We hung ours on the windows, but they can stand up - fold a bit of tab in at the bottom of the legs to steady them.
I placed the head out further on this one, and after a week or so, the cat started bending down from the weight, feet sliding outward. I said, "Oh, he's playing..!" ^_~ If you encounter this (humidty levels are also a factor in paper curling), you can make the legs under the head stiffer by gluing a strip of paper on the backs and stop sliding by putting the back-side foot against a wall, or side of a shelf.
You can also glue the feet to a "ground" paper, like in this more advanced version of a stand-up cat from Art Projects For Kids.
This tp roll black cat at Where Imagination Grows is really cute.
I also made a version that could be a leopard
or whatever color cat you like.
An often misquoted, or misused, reference, especially around Christmas, is about "the lion and the lamb". There is no Bible verse that says, "the lion shall lie down with the lamb". The actual Bible verse is: "The wolf also shall dwell with the lamb and the leopard shall lie down with the kid; and the calf and the young lion and the fatling together; and the little child shall lead them." - Isaiah 11:6
In "lion and lamb" references, the lion represents God, and the lamb represents Jesus, the lamb of God who was sacrificed for our sins. Christmas is about the birth of that lamb. ~ It's gotten way too commercialized, and my mom and I liked to say, "It's Jesus' birthday - not ours." When sending Christmas cards, she even liked to use the Happy Birthday postage stamps and write Jesus under them for "Happy Birthday Jesus". ^_^ - which may be the translation of "Happy Christmas" that some cultures use instead of "Merry" Christmas, as Christmas means "Christ's birth". ^_^
Paper plate and construction paper:~*~ link to this section ~*~
Another simple craft to do is to take a paper plate and glue handprint cut-outs from colored paper around it for a lion's mane. Then, draw in the lion's face in the center of the plate. You can glue, or staple, yarn to the back to hang it up with (try to keep the staples under the mane and just to the plate so it doesn't show on front).
You can also glue strands of yarn around the paper plate for the mane, but the handprints are a nice keepsake to look back on how little they once were. A variation with the yarn is to, after it's glued on and dried, separate the strands of the loose part of the yarn. ~ You could also make a mane by coloring the edge of the plate accordingly then cutting strips into it for a fringe.
There are different sizes of paper plates, and smaller ones are great for gluing onto paper bags or popsicle sticks for puppets. When we made paper bag puppets, we made a piece for the inside of the mouth to go underneath the moving part. You could also color one right onto the bag, or even leave it off.
Paper plate mask - You can also easily turn this craft into a lion mask to wear. ^_^ Just cut holes in the eyes to see through and attach yarn or elastic to go around your head. You can mark where the eyes should be while the child to wear it holds the mask / plate in place, but please remove it before cutting the holes. ^_~ ... I remember sometimes we used really long rubber bands, but that kind of elastic can easily entangle your hair. So, I recommend yarn or ribbon (two pieces to tie) or elastic bands that are used in sewing (one piece that fits around the head).
You can make all kinds of animal masks from paper plates - maybe your lion needs a herd of animals to "hunt" in a game of masked tag. ^_~
Big balloon, newspaper, flour, water, yarn, empty butter-spread bowl, colored tissue paper... = Piñata!~*~ link to this section ~*~
~*~ this one takes a few days ~*~
Everyone loved our mom's piñatas. I don't think we ever made a lion one, but she did have the Cub Scouts make a lion mask - see below. Now, this is all from memory..:
Make sure your parents are done reading the newspaper before tearing it into strips about two inches wide. They don't need to be perfectly measured or straight, and they will end up all different lengths and widths. How much you need depends on the size of your project, but it takes a bit for good coverage. - You also might want some whole sheets of newspaper to lay down over your work area for easy clean-up later.
Blow up your balloon (or have someone with a lot of hot air do it for you ^_~) - generally a large or jumbo size. You can use the large balloon as a head by itself, or as a body with smaller balloons to add a head and legs for a whole creature. We usually just used crepe paper dangling down for legs, but I believe the legs of the cat pinata in the photo were made using the long kind of balloons and covered in paper maché. (Those are very hard to blow up, so beware!) Also, yes, you want the balloons firm but not too tight: You don't want them to pop easily.
If your family doesn't use tub-margarine, other empty containers or bowls will work. Find one with an opening that the top of your balloon will nestle in. Make sure the rim doesn't have any pokey parts on it. The bowl's job is to keep your project up for you to work on and so that it can dry without sticking to anything.
For adding a head or legs from balloons, I'm thinking we used masking tape to hold them on where we wanted them. Also, if you don't have very large balloons, you can put some smaller balloons together. In the end, the balloons will be popped and taken out, leaving a cavity that size for treats. (see option for legs below)
In another bowl, mix up some flour and water into a paste - not too thick, not too thin. Work out any lumps. Use your hands. It's great mushy fun, and you'll be putting your hands into it to create your masterpiece in a minute.
Um, I hope you are wearing short sleeves...
Now, you take a newspaper strip and put an end into the paste and slowly draw it up while immersing the rest of the strip as it moves through. Use your hand to swipe down the strip to get some of the excess paste off, lay it over your balloon and pat it down, smooth it out. Repeat with more strips, overlapping them until the balloon's surface is covered in a layer.
If you've got other balloons taped on, put strips on that go from one balloon to the other over where they meet to make sure those parts stay together when the balloons go bye-bye.
You can also form ears (or noses) during this process with pasty newspaper, or you can glue construction paper ones on later. You know... I vaguely remember wadding up a bit of tissue paper and paper machéing over that...
Leave the tip of the balloon that's down in the bowl uncovered. That's going to be your opening to put treats in when it's done. Just leave it about wide enough for a hand to get in.
I believe we put a layer on one way, let it dry, then put the next layer criss-crossing, let those dry, and so on, laying each layer to criss-cross the last.
In order to be able to hang the piñata, after the third or fourth layer, lay two lengths of yarn or kite string criss-crossing over the base of the balloon while that layer is wet and cover with strips along the lengths. Make sure the ends of the string hang past the piñata's opening enough to be able to come together from four sides and tie off for later hanging it with.
Add another layer or more as above... How many layers you need depends whose going to be whacking it. Also, today's newspapers aren't as thick as they used to be; so even if I remembered an exact number, it wouldn't be the same now.
Sometimes, just to mess with people, I would make one really, really thick. ^,^ But, really, if you are going to have teenagers whacking at this thing, make it a bit thicker than you would for smaller children.
I think we let the layers dry in-between adding more, but it probably doesn't matter - might just dry overall a little quicker. When you're satisfied with how many you've got on, let the whole thing dry thoroughly - at least a day or two. Sometimes the balloons pop on their own as the project hardens. When it's dry and hardened, take it off the bowl, pop the balloon(s) and take out their remains along with any tape pieces. - Though, I think we also did have them hanging to dry. ...I really should make one again sometime... ^.^ This is all from long ago memory.
Tie the yarn/string together at the top and put the top of a hanger through it to hang it up and decorate it. Handle with care when pressing on it to glue decoration on. You could work on it while it's on a table or floor, but you need to let each side dry before you turn it to work on more of it and be careful not to squish what you've got done. (we've had them hung in doorways, from a shower curtain rod, a hook in the ceiling... wherever will safely hold it)
Colored tissue paper - What we did was cut lengths a few inches wide, fold them up (like for paper dolls) and cut half-inch to one-inch wide sections along one edge to make a fringe to represent fur. You can also make squares of tissue paper and glue the center of it down, leaving the edges sticking out for fluff.
Option for legs - Usually, we liked to do the dangly legs. Easy ones are crepe paper (streamers) with construction paper feet on the end, or strips of construction paper folded back and forth along its length to give it some bounce when hanging and with paper or tissue paper feet.
Depending on the size of the youngsters, we usually hung the piñata from a broomstick with an adult holding each end to raise it up and be out of the way of swings. We also would use an old broomstick handle to whack it with. If the holders are really mean (;p), they'll jiggle the piñata around to make it harder to hit.
Depending on size and age, we generally were blindfolded. - Which led to hanging the piñatas from trees, or a rafter in the garage, when we got bigger and our swings were wider.
Paper maché masks
Ah, Cub Scouts are so mature. ;p (Other, uncool, mothers would have made them be.)
~*~ link to this section ~*~
They used big paper bags for the framework - as, "back in my day" it was "paper or plastic" at the grocery stores. Those aren't around much anymore, so a very large balloon may have to do. The darling brother from the photo says that they made them so that the weight of the mask rested on your shoulders and not the top of your head, by trying the bag on, marking where the shoulders were then cutting out to one inch below that and with a small slit to allow your arms movement up and down.
Same process as for the piñatas, just shape differently and make thicker. You can mash the sides of the bag's bottom in to round it off before covering. Form ears and noses as you go along, or use construction paper or cardboard for those later.
With a balloon framework, you would let strips hang down on two sides to form the front and back of the mask. The sides need to be open to fit over the shoulders, round them out while working. Keep the main opening much larger than you would for a piñata. The masks go over a head and you want plenty of breathing room in there. Basically, the balloon, now, would simply be giving form to the top of the mask and holding it all up til it dries. Covering the balloon isn't the goal for this project.
When it's dry/hardened (and the balloon popped and cleaned out - paper bags stay in) have the child try it on and mark where the eye-holes should be. Remove it from the child's head before poking/cutting the eye-holes out.
I believe they spray-painted these - outside! - (it looks shiny and hard) but he believes it was with brush-on paint. Use whatever is age-appropriate for your child. Crepe paper was used for the lion's mane, construction paper for noses and other accents. You could also glue on tissue paper to cover them instead. (Again, if you'd like a 3D nose, you can form one with a small balloon or wad of paper while pasting the newspaper strips on. There was also a boy who attached egg carton halves to the front of his finished work for a bird's beak. Clever.)
There you go! Some of the cool things our mom did with us! Have fun!We sure did. ^_^
~ * ~ * ~*~ * ~ * ~Be a steward of the Earth.
[I'm not a professional and have limited resources/access. I make the printable coloring page images to be around 8x11 inches to fill a sheet of regular letter-size paper when printed. Coloring pages may be printed from here and made copies of for non-profit, free-of-charge use only. Plant seeds! ^_^]


